How to Make Baking as Easy as Possible
Baking doesn't have to be difficult! These easy, practical baking tips will improve your skills and make you a better baker. Whether you want to make cakes, cupcakes, cookies, muffins, or more – this simple advice will help you be successful in the kitchen! 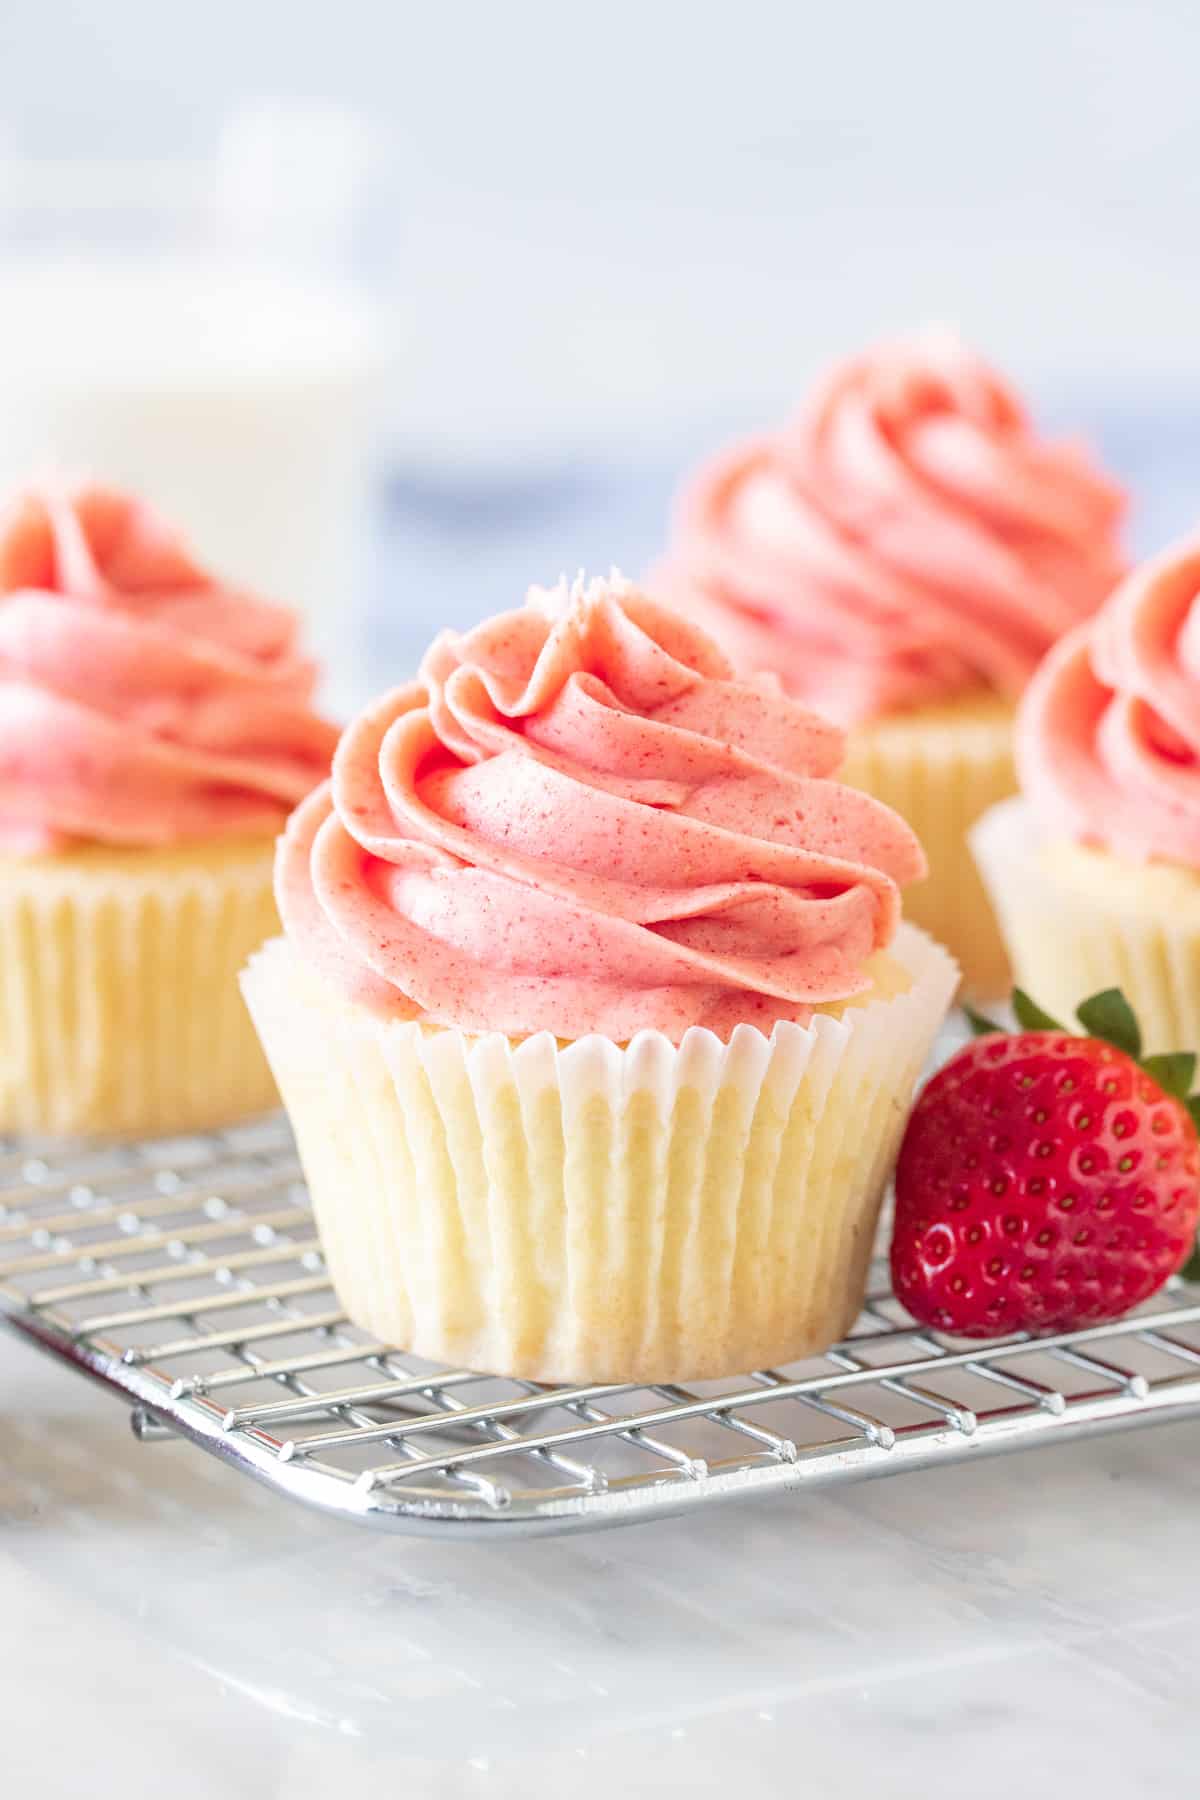
My goal is to help readers create delicious, homemade treats. Whether it's a simple chocolate chip cookie or a decadent cheesecake – I believe that anyone can bake, and everyone can become a better baker. While some recipes, like flaky croissants or intricate cake decorating, can take years of practice to perfect, most recipes for cookies, cupcakes, cakes and brownies are easily accessible to a home baker.
These simple tips can be applied to any recipe and will set up you up for success in the kitchen.
While there is an art and a science to baking, the element of science actually makes it easier. There are rules, theories and instructions that lead to reproducible and repeatable results. Today, I'm sharing those rules and tips with you.
Don't worry – they're very simple and easily doable, even if you're very new to baking.
1. Read the Recipe from Start to Finish
Then read it again. Your recipe instructions are your map to the finish line. Like any car journey, it's important to know where you're going before you start. This ensures that you're not missing any ingredients (there's nothing worse than getting half way through a recipe to find out you don't have any brown sugar on hand), and that you understand each step before you're half way through and need to google what "fold in the cheese" means. (Ps – that's a reference to Schitt's Creek for any fans out there).
2. Measure Your Ingredients Before Getting Started
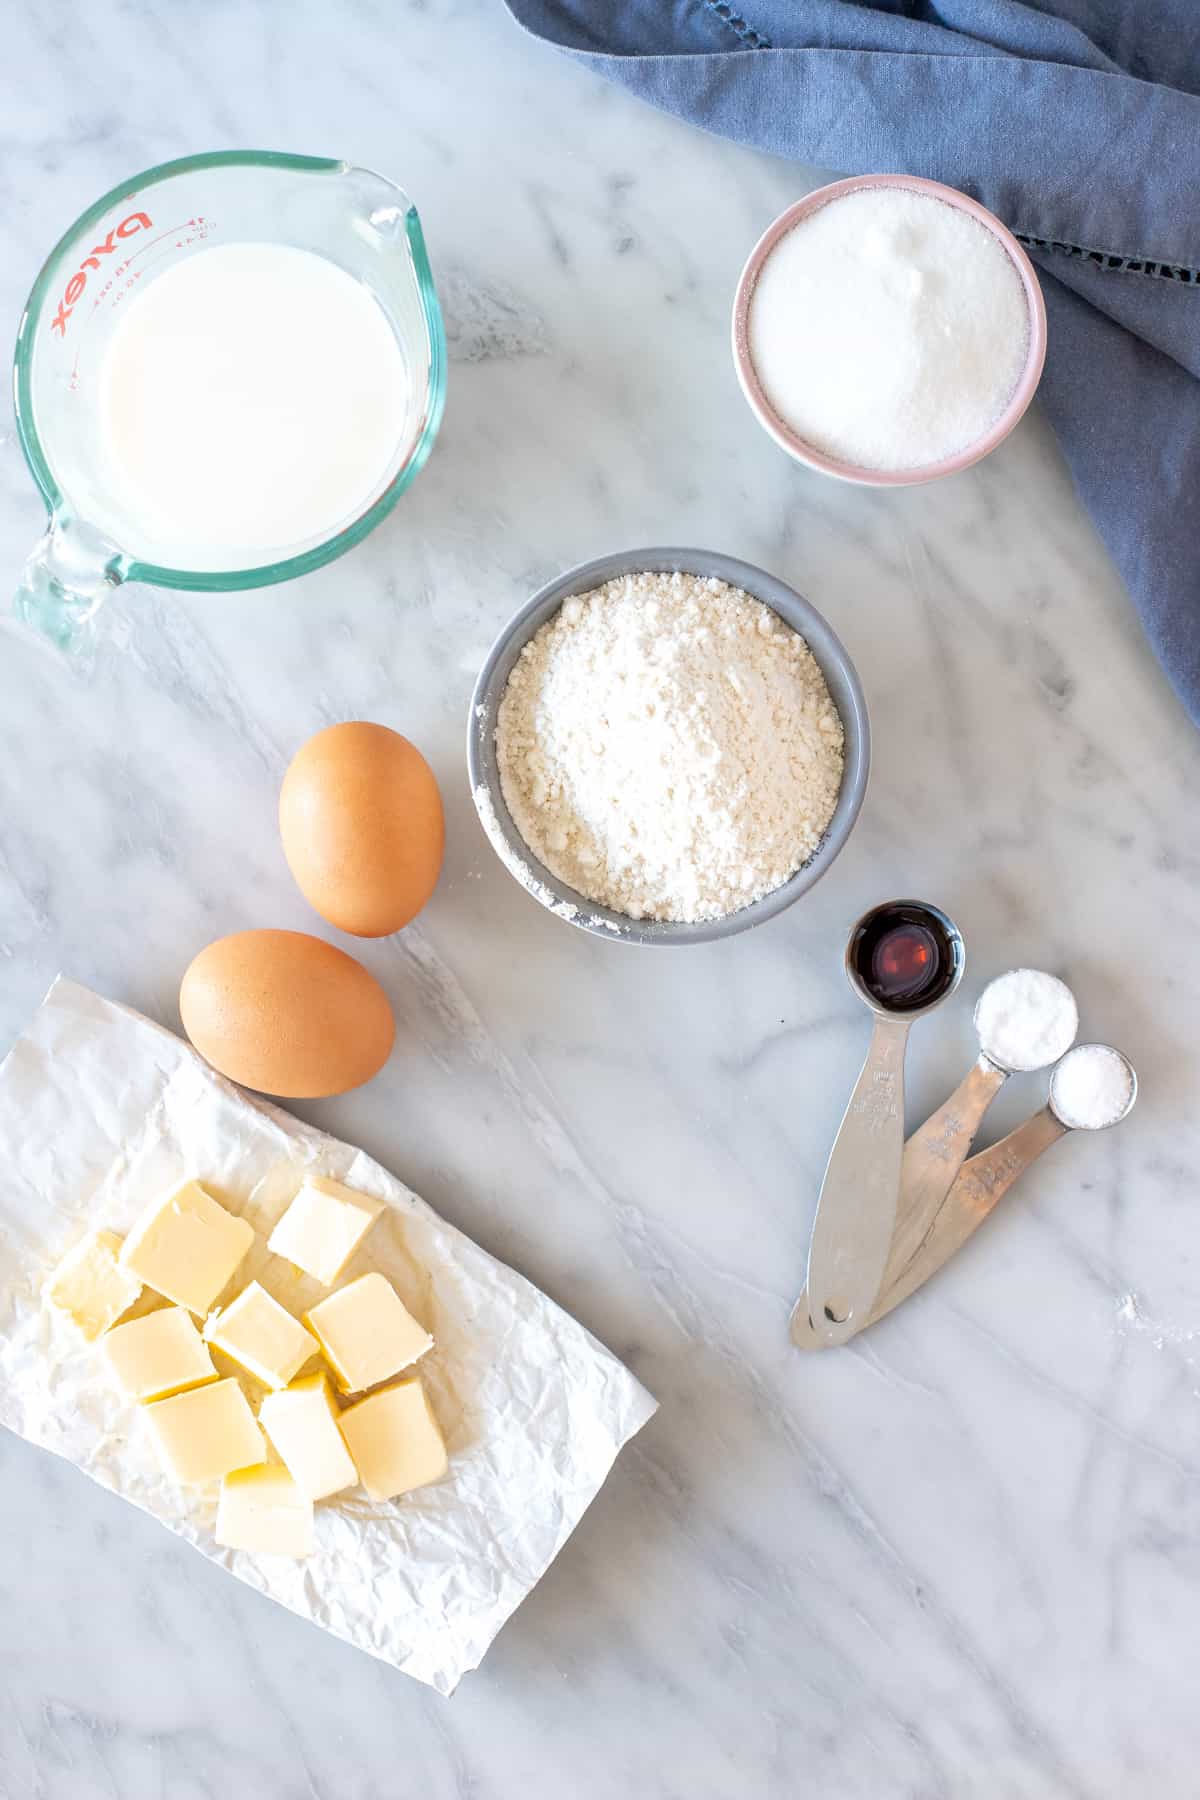
This cooking technique is called mis en place. It translates from French to English as "to put in place" or "to gather". In cooking, it refers to measuring out all of your ingredients, getting out your mixing bowls and equipment, and chopping or preparing any ingredients – such as sifting flour – before getting started. Not only does this ensure that you have the correct amount of each ingredient on hand (see #1), it also makes your kitchen more organized and streamlines your cooking. Your kitchen will be way less messy this way.
Mis en place is also very important for recipes where timing matters. For example, if you're making homemade caramel, you first cook the sugar in a saucepan until it melts into a smooth amber liquid. Once it's melted and reaches the proper temperature, you need to immediately add in the butter. If your butter isn't measured and ready to go, you can end up burning the sugar. It smells awful and you'll have to start again.
3. Measure the Ingredients Properly
Remember that baking is part science? Incorrect measuring is the #1 error people make when baking. For example, adding a little too much flour will lead to dry, flavorless baked goods.
- Dry Ingredients:
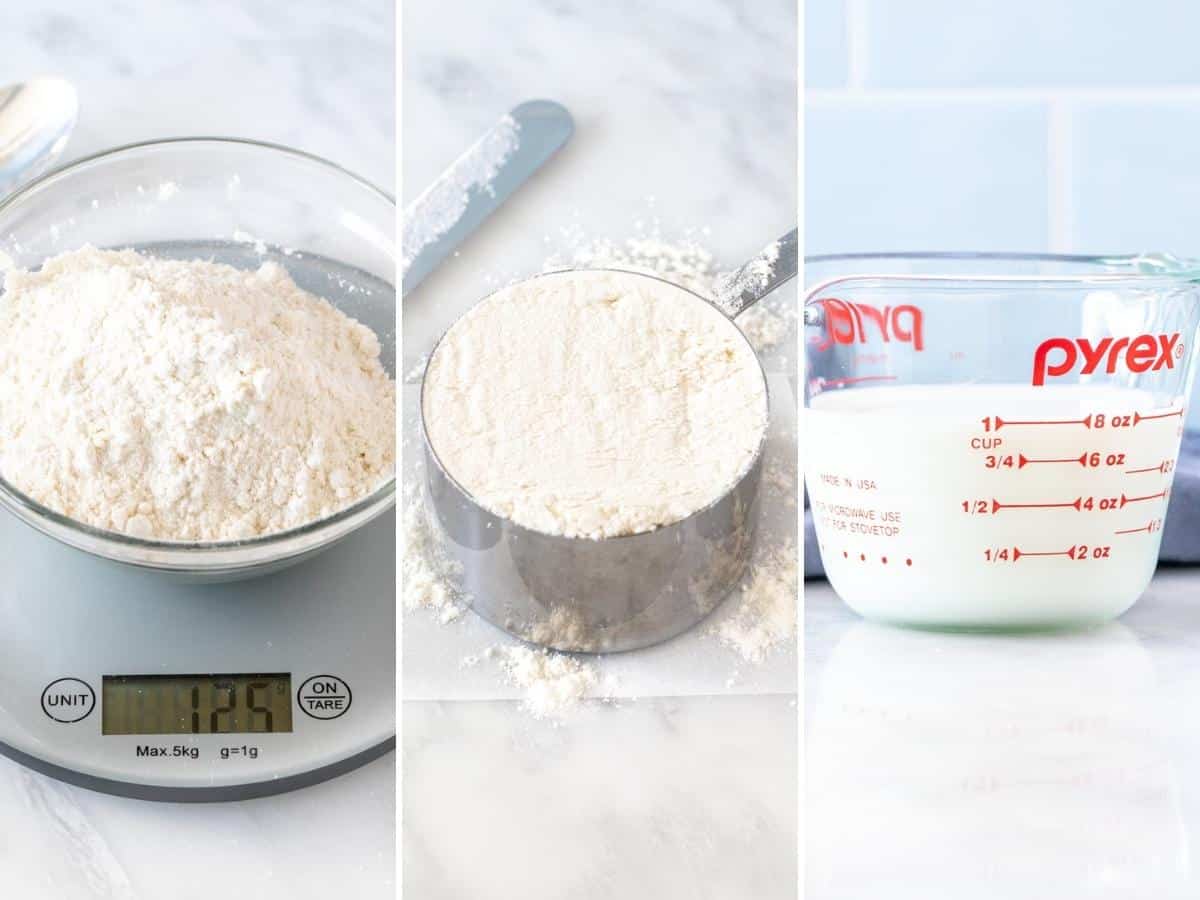
- The most accurate way to measure dry ingredients is to use a kitchen scale. Since transitioning to using a scale, I've never looked back. While baking with a scale is common practice among most of my UK and Australian readers, I know that most readers from the US prefer to use measuring cups.
- If using measuring cups, always use dry measuring cups and measuring spoons. Dry measuring cups hold the exact amount indicated. Always fill measuring cups to the very top and level off with a flat edge (like the back of a knife) so that they're not heaping or overflowing
- Wet Ingredients: We ingredients should be measured in a liquid measuring cup. You want to view the measuring cup an eye level and fill to the indicated line. Viewing from above will distort how full the measuring cup looks with liquid ingredients.
Do not measure dry or liquid ingredients using a water glass or coffee mug!
4. Pay Attention to the Butter Temperature
Cold butter, vs room temperature, vs melted butter all perform differently in baking. If a recipe has been developed with room temperature butter, using melted butter will lead to very different results.
- Cold butter is typically used in pie crust, flaky pastry and scones. When cold butter is baked, it releases steam. The steam released creates air pockets, which leads to the flakiness in pie crusts and pastries. It's best in baked goods that are meant to be crisp and flaky.
- Room temperature butter is typically used in cakes and cupcakes. It allows for easily beating together the butter and sugar. This process adds air to the batter for cakes and cupcakes to rise properly and have a lighter and fluffier texture.
- Melted butter is typically used in brownies, loaves and some cookie recipes. When butter melts, most of the steam is released. Therefore, melted butter creates baked goods that are dense and chewy because no steam is released when baking and there's very little aeration when the butter and sugar are mixed.
5. Use Room Temperature Ingredients – Unless Otherwise Stated
Eggs, sour cream, milk, and most products from the fridge should be at room temperature before getting started – unless otherwise stated (see #4 above). This ensures that the ingredients mix together evenly without having to overmix the batter. Overmixing – ie mixing the ingredients for too long – creates tough, dry baked goods.
6. Don't Make Substitutions
Chefs, recipe developers, bakers and bloggers spend so much time testing and retesting recipes until they're perfect. Each ingredient has a purpose and each ingredient is selected to properly interact with the others in the recipe. Unless explicitly stated in the recipe that a substitution is OK, do not make any substitutions as this will lead to different results than expected. Unfortunately, there is no way for a recipe tester to test every possible substitution, and combination of substitutions for a recipe.
7. Mix the Ingredients Properly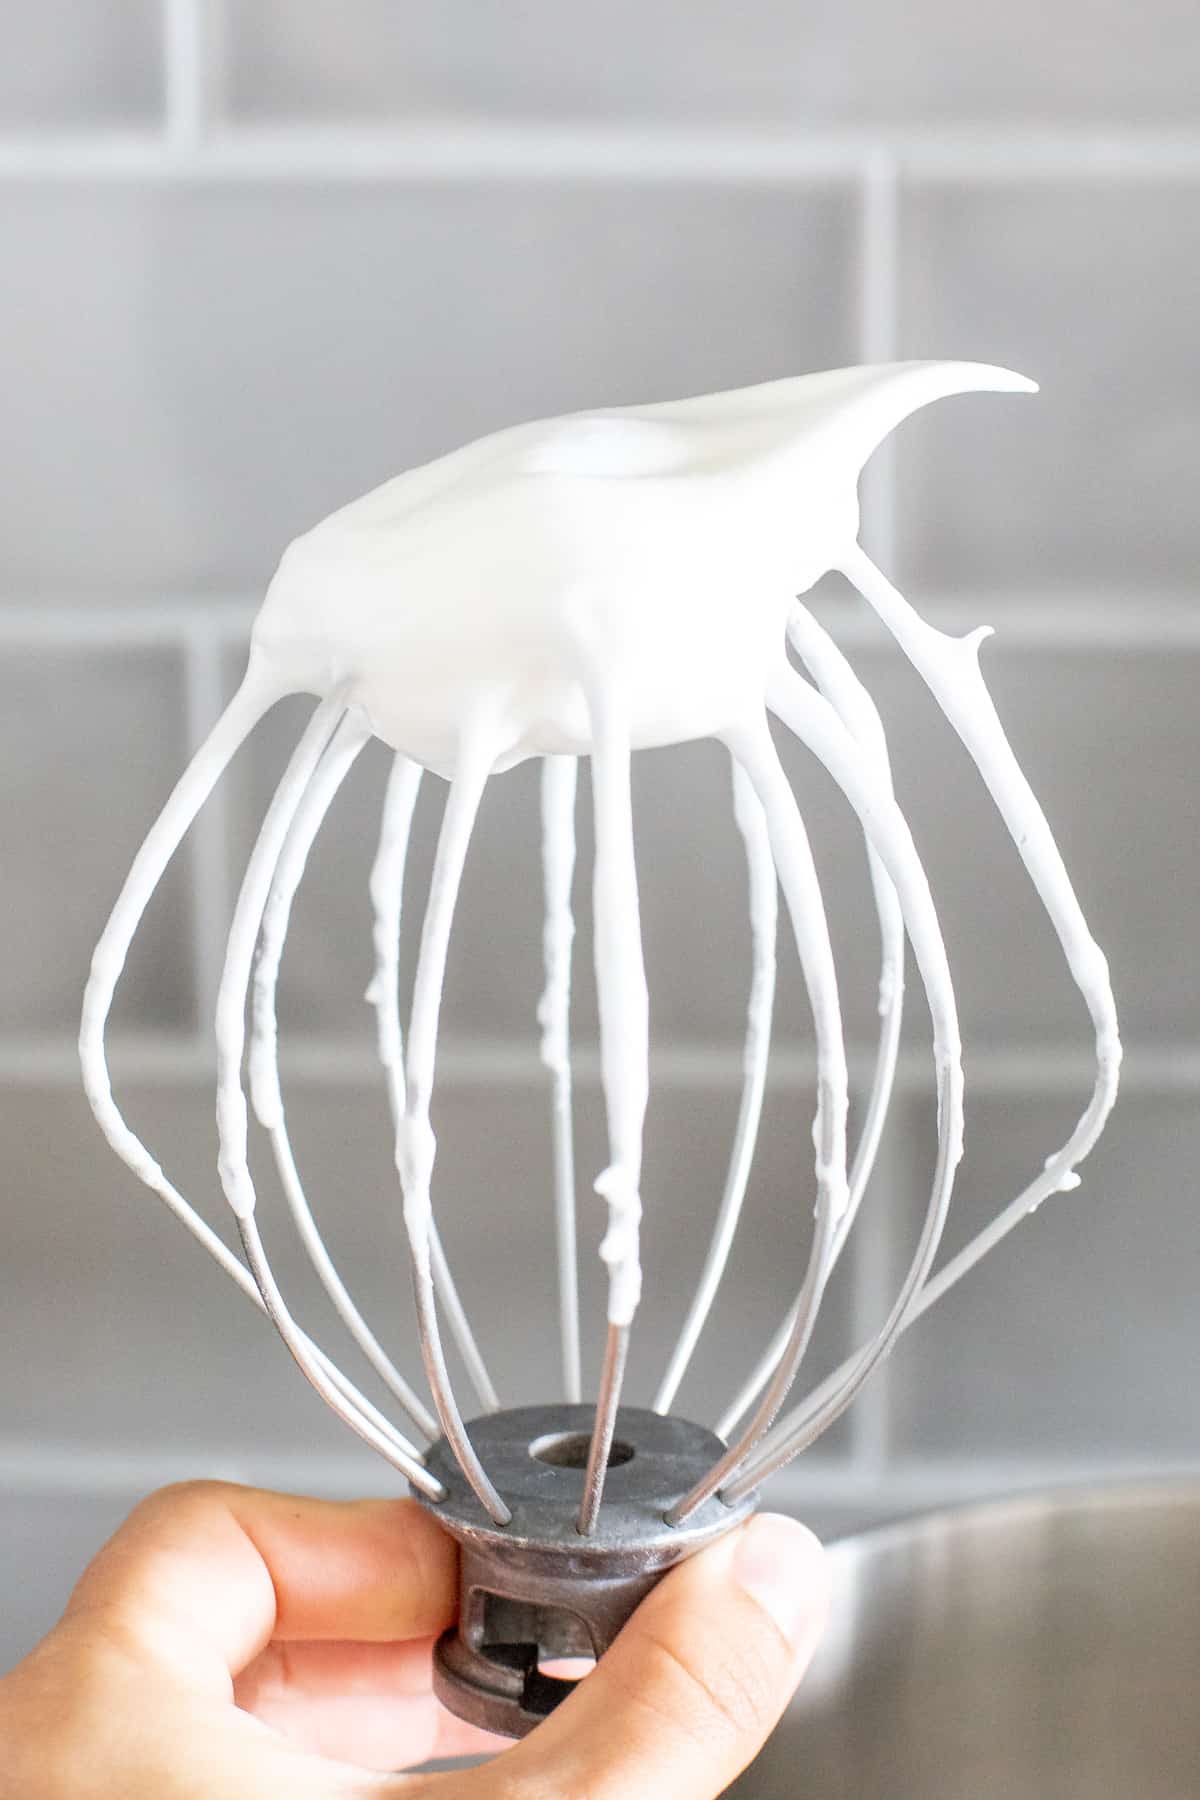
Both the ingredients and the process of mixing the ingredients will have a big impact on the final result. If a recipe calls for whipping the egg whites until stiff peaks form, giving them a simple whisk until they're frothy won't cut it.
Alternatively, if a muffin recipe says to gently fold the wet ingredients into the dry ingredients using a rubber spatula or wooden spoon – don't get out your electric mixer and start beating away. When recipes call for gently folding in the ingredients, it's because the batter will get tough if you overmix it.
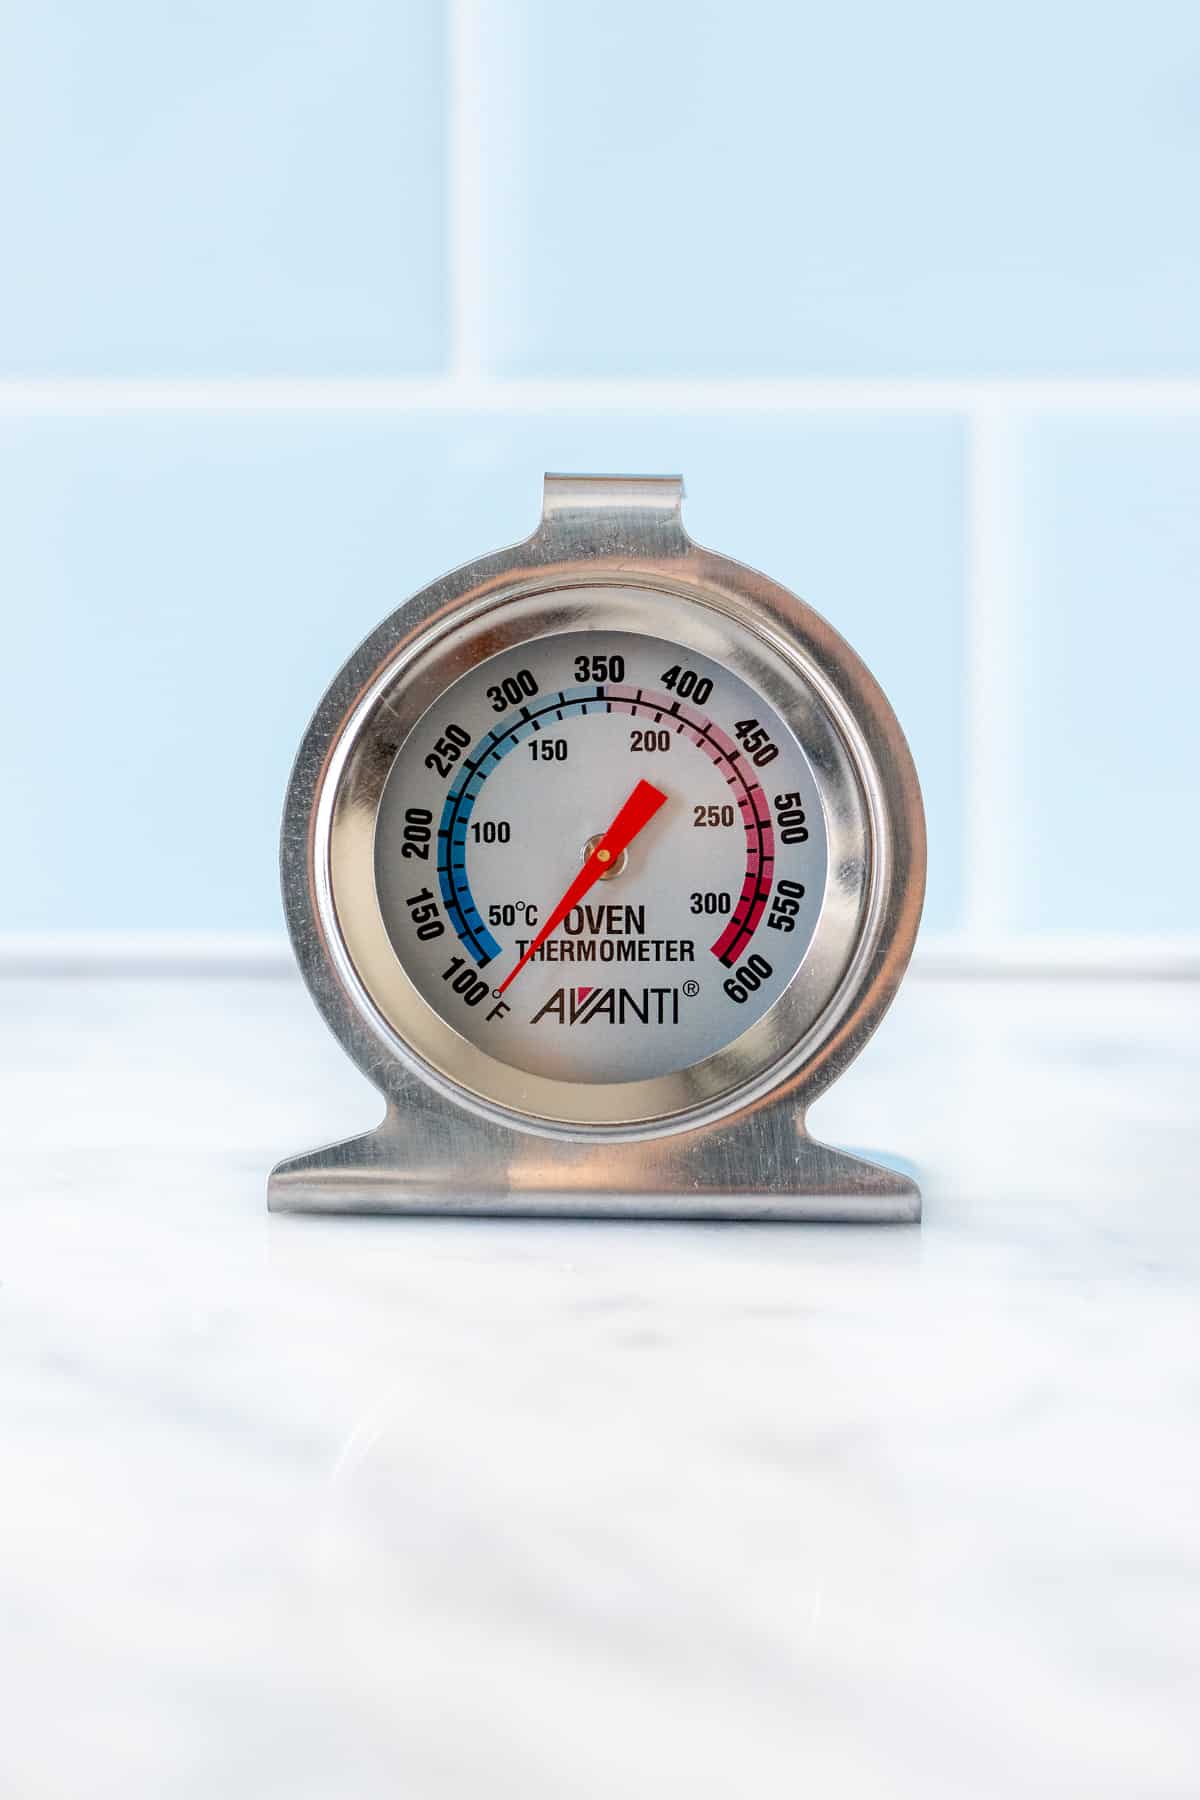
8. Use an Oven Thermometer
Oven temperatures can vary wildly from brand to brand, model to model and individual oven. I therefore highly recommend buying an oven thermometer and going off of that. It sits in your oven and will measure the temperature to ensure that your oven is reaching the correct temperature indicated on your oven dial, or not going way over. The one I own can either sit on the wire rack of your oven, or hang from the top. You can find them at most kitchen stores and cost about $10.
9. Don't Peak! Keep the Oven Door Closed When Baking
Every time you open the oven door, a rush of cold air goes into the oven and lowers the oven temperature. As much as we want to admire our hard work, keep the oven door closed until the very end when you think you're ready to to take it out of the oven. This is especially important for cheesecake. A sudden rush of cold air will decrease the oven temperature and can cause the cheesecake to sink and crack.
10. Don't Just Go by the Bake Time!
Oven temperatures vary and pan sizes can be slightly different. This can lead to big differences in the stated baking time of a recipe. I've found that oven temperatures can vary 10-20% each time I've moved apartments. When baking cookies, this might not seem like a lot because the difference between 10 minutes and 11 minutes is pretty miniscule.
However, for recipes like cheesecake or pound cake where the bake time can be over an hour, a difference of 10-20% can be up to 20 minutes.
Therefore, it's always important to judge if your cake or loaf is ready by it's appearance and baking tests – such as inserting a toothpick into the middle of your pound cake – instead of just taking it out of the oven as soon as the indicated time in the recipe has elapsed. Expect that your recipe could be done baking anywhere from 10-20% before or after the recipe indicates it will be done.
These easy baking tips can help anyone become a better baker – whether you're just starting out in the kitchen or are wanting to take your skills up a notch. And if you're ready to start baking, here's a few of my favorite recipes to try:
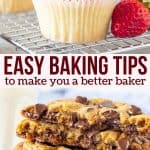
- Vanilla Cupcakes with Strawberry Frosting – this is the first recipe pictured in this post
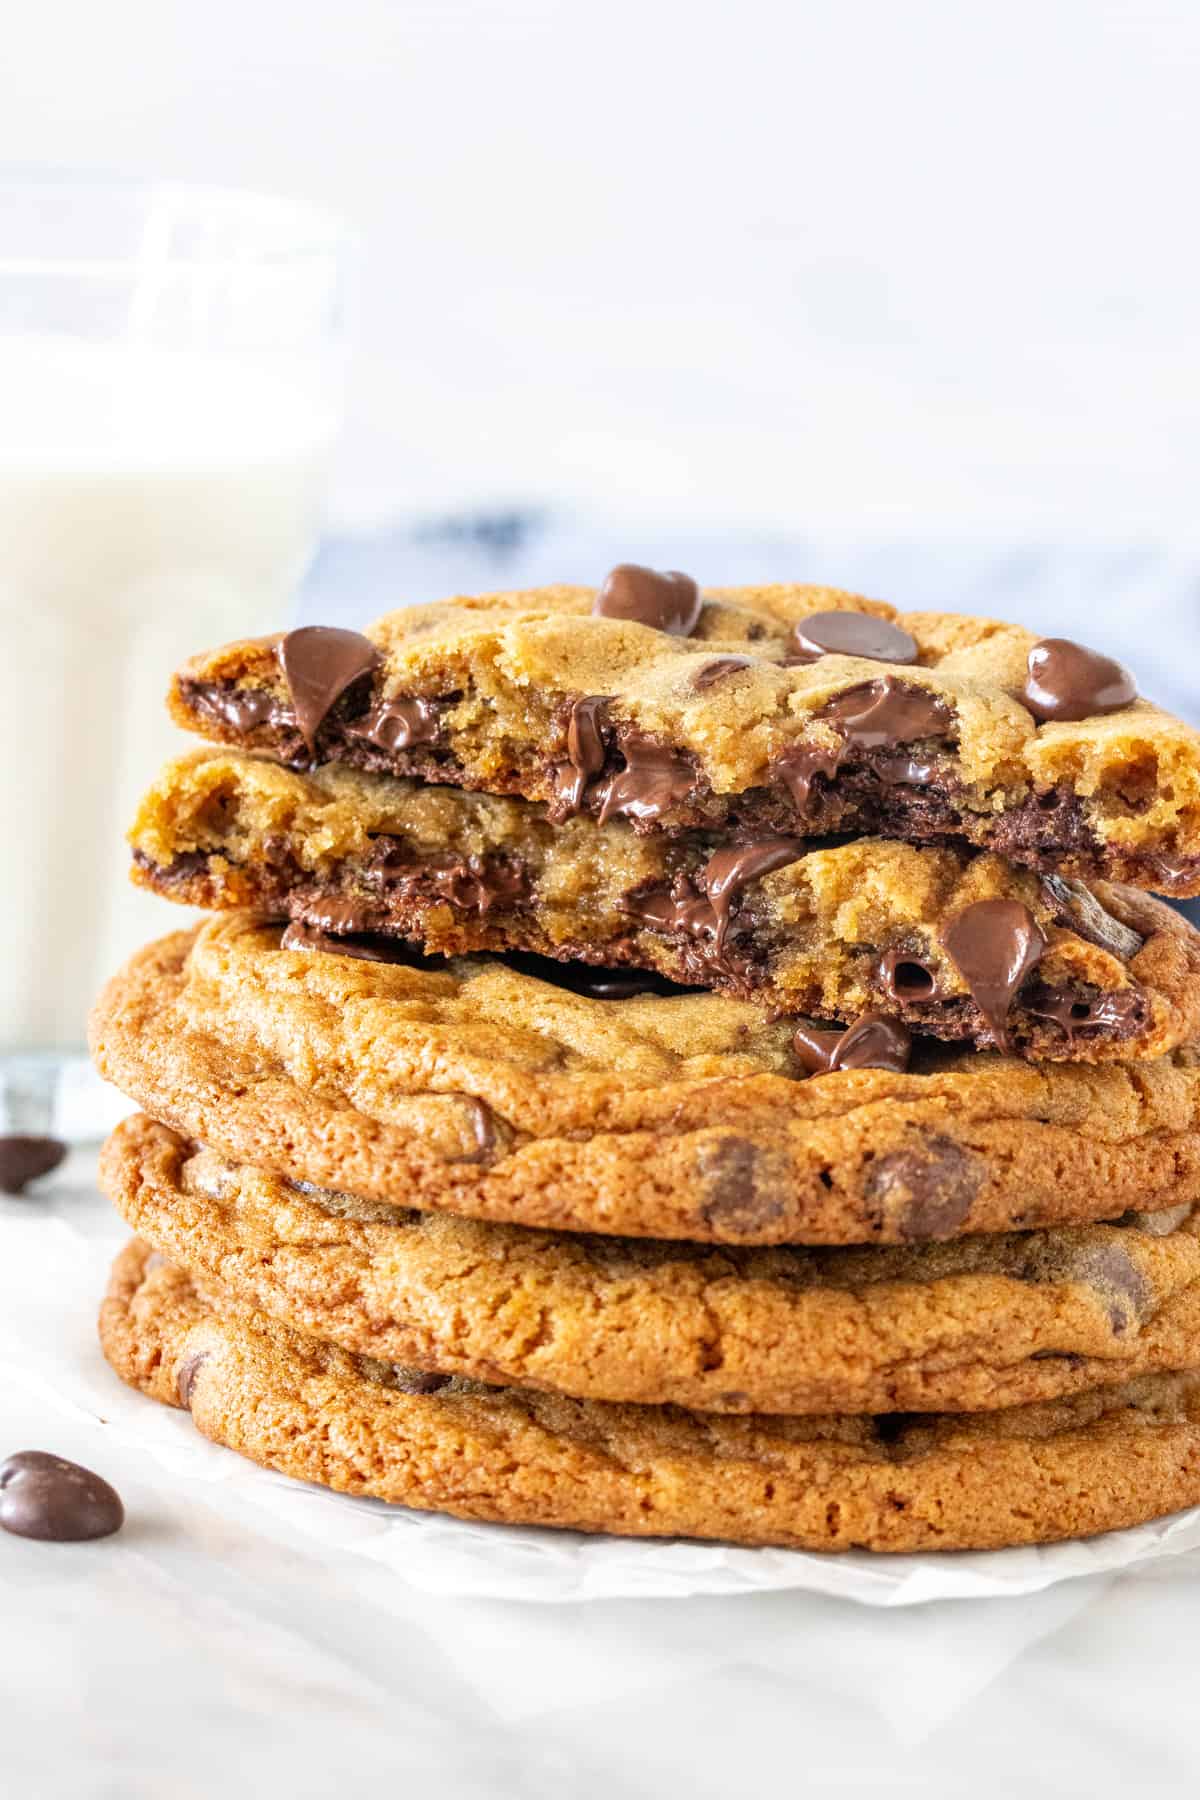
- Bakery-Style Chocolate Chip Cookies – this is the recipe pictured above
- New York Cheesecake
- Funfetti Cake – from Scratch and way better than any bakery!
And for more baking tips, be sure to check out:
- How to Freeze Cookie Dough
- Easy tips for the Perfect Bundt Cake
- Baking with Oats
girouardondritted.blogspot.com
Source: https://www.justsotasty.com/easy-baking-tips-to-make-you-a-better-baker/
0 Response to "How to Make Baking as Easy as Possible"
Post a Comment